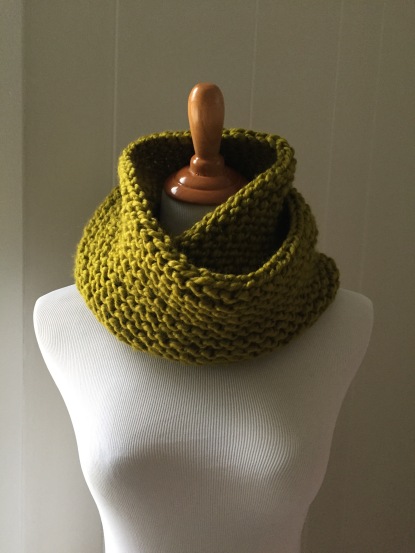
Garter Stitch Cowl Scarf Pattern


My Garter Stitch Cowl Scarf is an easy and simple knit that’s great for the beginner knitter and fun for the more advanced as well. Knit it up in an afternoon and stay cozy in those cold winter months. The garment is knit flat and then seamed; however, if you’d like to knit it in the round, just modify garter stitch for knitting in the round. You can wear it long or double it up for a chunky cowl.
Materials
US 17 (12mm) 40″ circular knitting needles
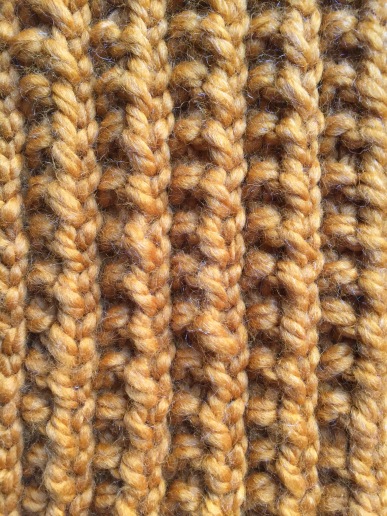
3 Skeins Lion Brand Wool Ease Thick and Quick yarn or another super bulky weight yarn (1 skein = 6 0zs/170g/108yds/98m). Color pictured in Lemongrass.
Tapestry needle
Scissors
Measurements
About 8 inches wide and 56 inches in circumference
Gauge
7.5 stitches and 18 rows = 4 inches (note that gauge isn’t that important when knitting a scarf)
Instructions (for knitting flat)
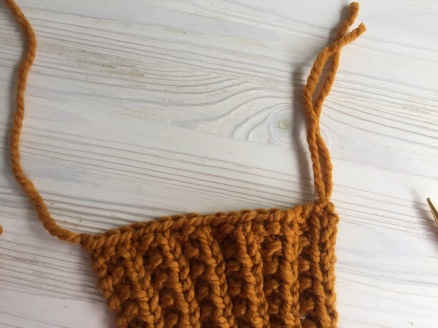
Cast on 100 stitches
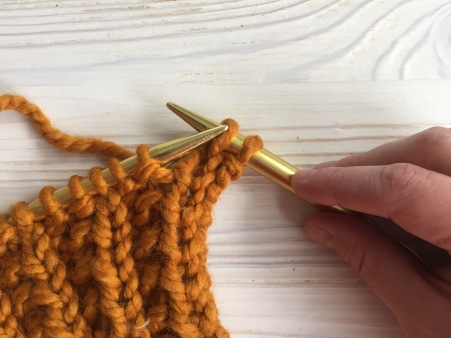
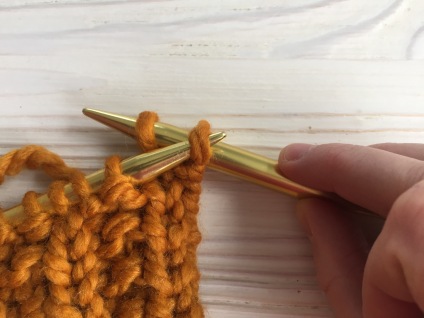
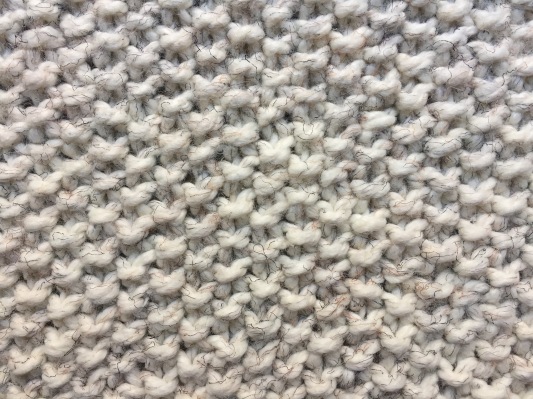
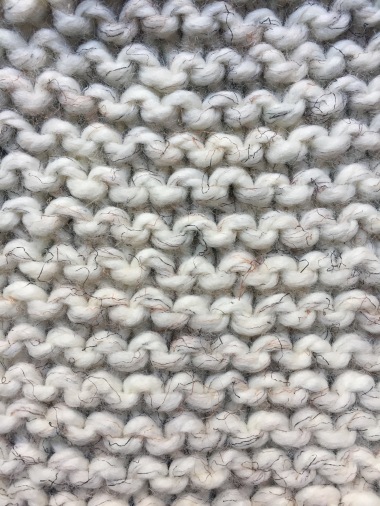
Row 1: K
Row 2: K
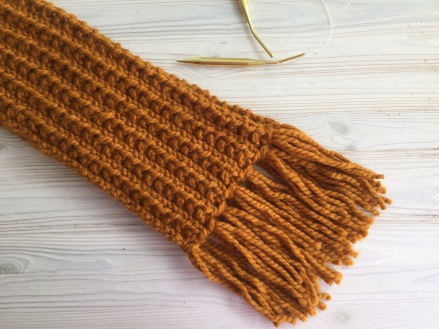
Repeat Rows 1 and 2 until piece measures 8 inches or desired length (note that this is the width of the scarf).
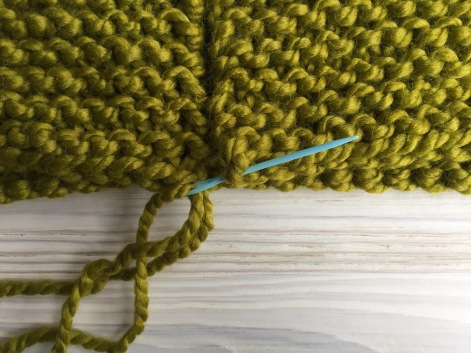
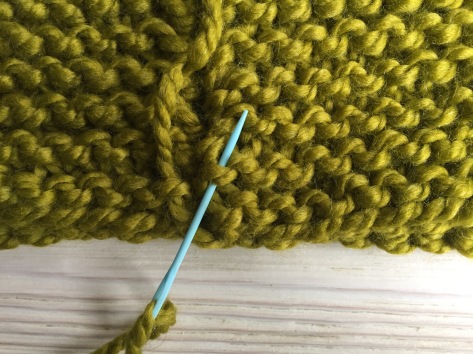
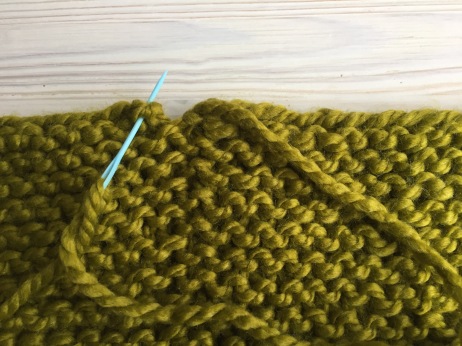
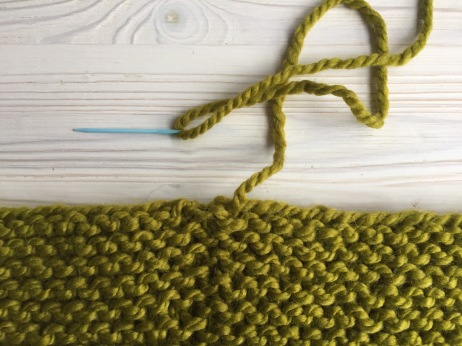
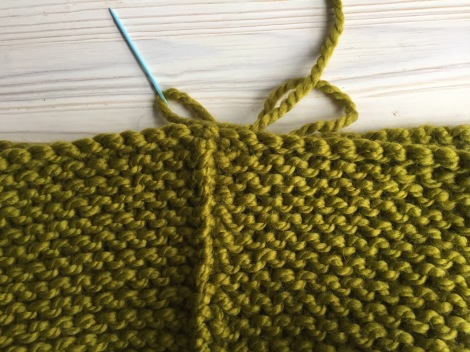
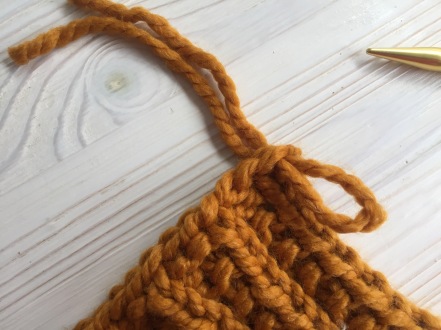
Bind off loosely and seam the two ends together.
Instructions (for knitting in round)
Cast on 100 stitches and join in the round with a marker to denote beginning/end of round, being careful not to twist.
Row 1: K
Row 2: P
Repeat Rows 1 and 2 until piece measures 8 inches or desired length (note that this is the width of the scarf).
Bind off loosely.